Last updated: October 22, 2026
A move-in condition report is often the fastest way to protect your deposit when you move into a rental. This guide on How to Document Rental Condition Before You Move In gives you a dated record of what was already broken, stained, scratched, missing, or worn before your lease starts, so the landlord cannot fairly blame you later for old damage.
Key takeaways
- Start before furniture arrives, while every wall, floor, and fixture is still visible.
- Use photos, video, and a written checklist together; one format alone is easy to argue with.
- Capture location, detail, and a date stamp for every problem you spot.
- Send the record to the landlord or property manager right away and ask for written acknowledgement.
- Save everything in more than one place, because one lost phone can ruin a deposit claim.
- If the landlord refuses to sign, your own time-stamped record can still matter.
What to gather before you start the move-in inspection
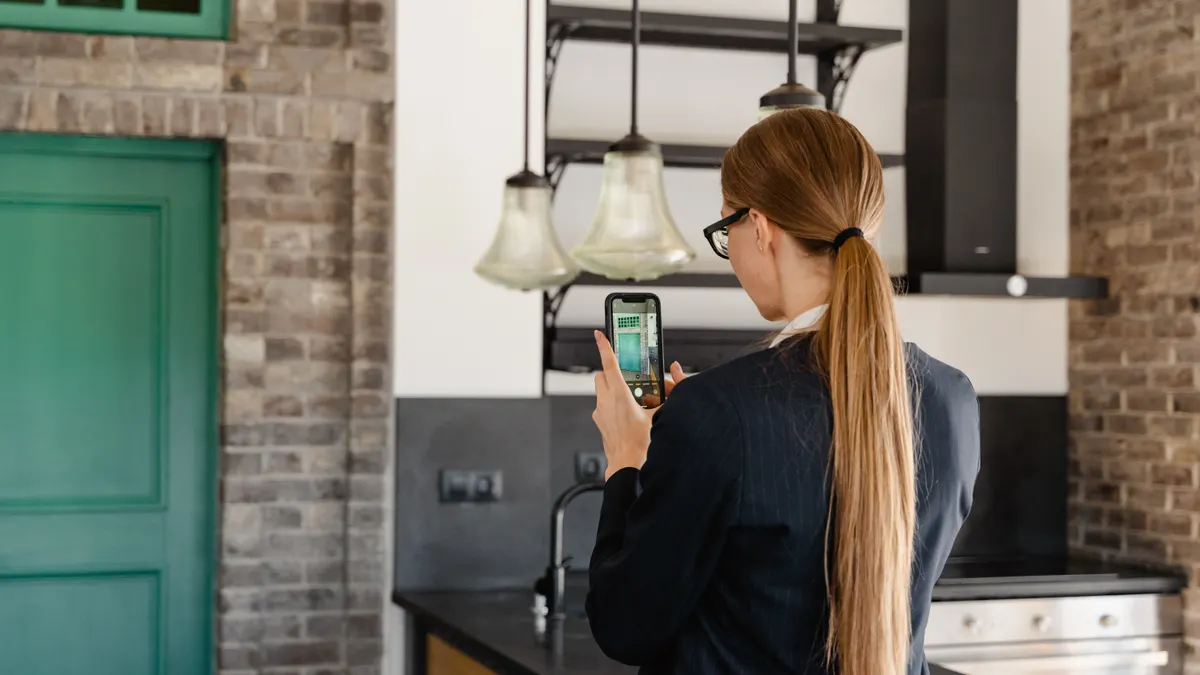
You need a phone with a camera, enough battery for a 15-minute walkthrough, and a way to save files outside the phone. Before you step inside, set up a folder with the address and move-in date so you can sort hundreds of images later.
Bring a condition checklist or a blank note sheet. A printed checklist works well because you can mark each room as you go, then transfer the notes into email later if needed. A flashlight is useful for under sinks, inside closets, behind toilets, and along window tracks. If the apartment is empty, take advantage of that; once boxes and furniture arrive, you lose sight of baseboards, outlet covers, and floor edges.
Turn on your phone’s date and location stamps if your camera app supports them. If not, plan to name the files immediately after the inspection. A video walkthrough also helps, but video alone is hard to search later, so do not rely on it by itself.
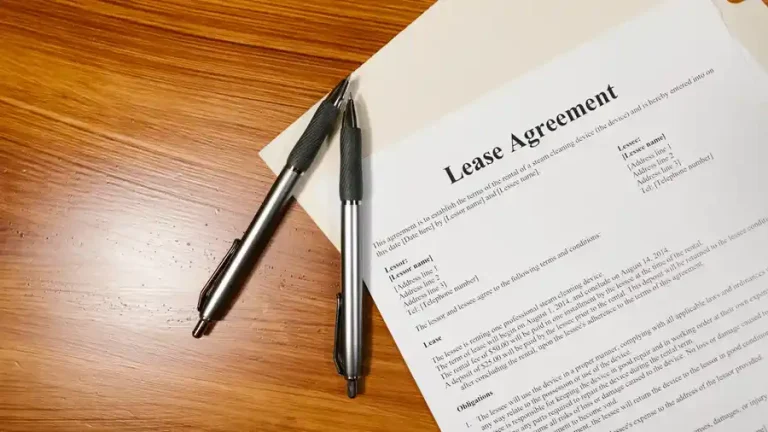
The point here is not to make the process fancy. The point is to create a record that shows the unit exactly as it looked on day one. For related rental guidance, see security deposit basics and how to move into an apartment; this page is the one that focuses on documenting the unit itself. The renter’s guide to lease addendums can also help if your landlord uses a separate condition form.
How do I document rental condition before I move in?
You document rental condition before you move in by inspecting every room, writing down defects in plain language, and saving timestamped photos that match those notes. That is the core move-in condition report, and it works best when you finish it before you unpack more than a few boxes. For a typical apartment, the process can be done in about 15 minutes if the unit is empty and you stay focused.
-
Walk the unit room by room before furniture goes in. Start at the front door and move in one direction, such as clockwise, so you do not skip areas. Check each room, then the hallway, closets, balcony, garage, and storage space. When this works, you will have covered the full unit once without doubling back.
-
Record every issue in writing with exact locations. Write “2-inch scratch on bedroom floor near window” instead of “floor damaged.” Note the room, wall, fixture, or appliance, plus any visible size or quantity. Use a checklist or notes app so the record is readable later. When this works, someone else can find the same spot without guessing.
-
Take timestamped photos of each problem and a wider shot. Photograph the whole room first, then move in close for the defect. For a stain on carpet, take one image that shows the stain in context and one close image that shows its shape and color. When this works, the photo proves both where the damage is and what it looks like.
-
Shoot a short video walkthrough for context. A 3- to 5-minute video is enough for most apartments. Speak the room name out loud and point the camera at each issue as you move. When this works, the video connects the written notes and photos into one continuous record.
-
Check fixtures and appliances using the actual controls. Turn on faucets, flush toilets, test light switches, open and close windows, and run the oven briefly if the landlord allows it. If a cabinet door sticks or a burner does not light, note the exact function that failed. When this works, you have more than cosmetic evidence; you also have a record of operational problems.
-
Save the files in more than one place immediately. Upload them to cloud storage or email them to yourself the same day. Keep the originals on your phone, too. When this works, a lost device does not erase your proof.
The judgment here is simple: do not try to “remember it later.” Memory is weak evidence, especially after a 12-hour moving day. A written record made on site beats a recollection typed a week later.
What photos and video should the move-in record include?
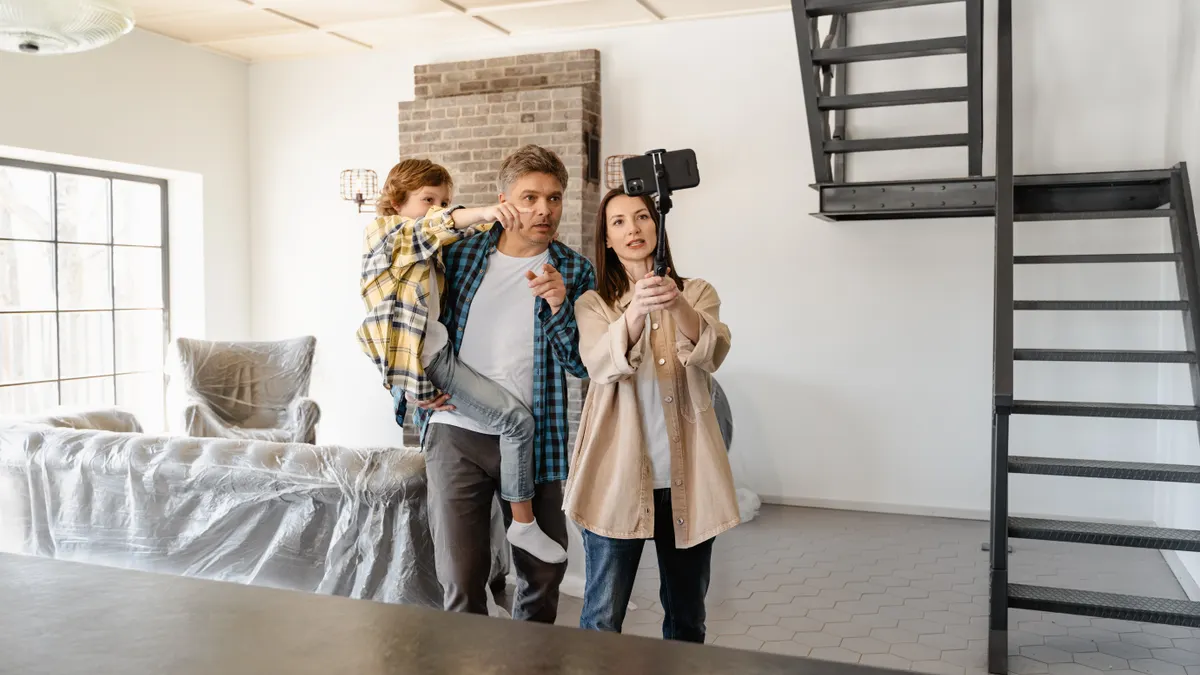
Your photos and video should show the whole unit first, then the defects at close range, with enough light to make the damage unmistakable. That means every room gets at least 2 kinds of images: a wide shot and a detail shot.
Start each room with the doorway or a corner that orients the viewer. In a kitchen, photograph the counters, sink, cabinets, floor, and appliances before you zoom in on a chip in the countertop or a dent in the refrigerator door. In a bathroom, capture the tub, toilet base, sink, mirror, grout, and caulk lines. In a bedroom, include the walls, window frame, floor, closet, and any marks on trim or doors.
Take close-ups from 2 angles when possible. One image should show the defect itself; the second should show the defect next to a reference point, such as a floorboard seam or cabinet handle. That helps prove scale. If the scratch is 6 inches long, the photo should make that believable without needing a ruler. If the room is dark, use the phone light, but do not blow out the image so badly that the detail disappears.
For the video, keep it slow and steady. A quick 90-second clip is often too rushed to matter. A 3- to 5-minute walkthrough gives enough time to name the room and describe each issue out loud. If you say, “Living room, left wall, two nail holes above the outlet,” the audio becomes a useful backup to the checklist.
Do not edit out the boring parts. A generic pan across the room may feel unnecessary, but it shows context. What hurts later is not that you captured too much; it is that you captured only one dramatic close-up with no idea where it belongs.
If you want a clean standard, think in layers: room context, defect close-up, and matching written note. That three-part record is much harder to dispute than a single blurry photo.
How to use a condition checklist without missing hidden damage
A condition checklist works best when you use it in the same order every time: entryway, living areas, kitchen, bathroom, bedrooms, storage, exterior spaces, and then utilities. The checklist is not just a form to fill out; it is a system for forcing your eyes onto the places landlords often dispute later.
Use the checklist to check more than obvious damage. Look for water stains near ceilings, chips on tile edges, loose outlet covers, missing smoke detector batteries, cracked switch plates, and nail holes in drywall. Open every cabinet and drawer. Look under sinks for moisture, rust, or mold-like spotting. Inspect window locks, tracks, screens, and seals. A missing screen or broken latch is easier to document now than after a storm or pest issue turns into a larger fight.
Mark each item as clean, damaged, missing, or not checked. Those four labels are enough for most rentals. If the form allows comments, add short specifics such as “burn mark on left burner” or “paint peeling above shower tile.” Avoid writing vague praise like “looks okay.” “Okay” does not help when a deposit dispute turns into a line-by-line comparison.
A good checklist also helps you notice things that are easy to ignore on a first pass. A closet rod set 3 inches too low may seem minor, but if it falls later, you want proof it was unstable from the beginning. A door that rubs the floor may seem cosmetic, yet it can signal a warped frame or poor installation. These are the kinds of details that get lost if you only take photos.
One trade-off is time. A careful checklist can take 30 to 60 minutes for a small apartment and longer for a house with a garage or yard. That delay is worth it. Rushing through the form usually creates holes in the record, and those holes cost real money later.
How to send the move-in condition report so it counts
You send the move-in condition report by email and ask for written acknowledgement, ideally the same day you finish the inspection. That creates a dated paper trail that shows you raised the issue promptly, not after the tenancy was already underway.
Write a short subject line with the address and move-in date, such as “Move-in condition report for 214 Oak Unit 3 — 2026-10-21.” Attach the checklist, photos, and video link or compressed clips. In the email body, say that the unit was inspected on move-in day and that the attached record reflects preexisting damage and condition issues. Keep it factual. Do not argue, threaten, or speculate about responsibility.
Ask the landlord or property manager to confirm receipt and to sign or reply to the report. If they use a lease addendum for move-in condition, sign only after checking that it matches your notes. If the form has blanks for comments, fill them in before you sign. An email confirmation is enough to show receipt in many situations, even if you never get a wet signature.
If the landlord spots something you missed, update the record and send a revised copy. A corrected record is better than pretending the first version was perfect. The goal is accuracy, not winning a dispute by volume.
Do not wait until the end of the first week. By then, it is easier for the other side to say the damage happened after you moved in. Same-day delivery is cleaner and usually more persuasive.
For a deeper deposit strategy, this record is the first layer. It supports everything else that comes after, because it anchors the timeline at move-in instead of move-out.
Common mistakes that weaken a deposit dispute
Skipping the inspection until after unpacking is the biggest mistake, and it costs you visibility. Once boxes, bedding, and kitchen gear are in place, you cannot easily prove whether a floor scratch or wall ding was already there. Do the inspection before heavy furniture arrives, even if that means delaying the fun part of moving for 20 minutes.
Using only one type of evidence is another weak move. A single photo without notes can be dismissed as unclear. A checklist with no photos can be dismissed as too vague. A video with no written list is hard to search. Use all three together so each one supports the others.
Writing sloppy notes also hurts. “Dirty” does not tell a future reviewer whether the issue was dust, stains, grime, or damage. “Broken window latch in second bedroom” is better than “window issue.” Clear words matter because deposit disputes often turn on small differences in language.
Another mistake is failing to ask for acknowledgement. If you send the report and stop there, you still have a record, but you do not have proof the landlord saw it. An email reply, a signed addendum, or a portal message with a timestamp strengthens the file. If the landlord refuses to acknowledge receipt, save the sent email and any delivery confirmation.
The honest limitation is this: a move-in condition report cannot fix a bad lease or force a landlord to agree with you. It is evidence, not magic. It works best for renters who want a factual record and are willing to spend an hour making it complete. It is less useful for someone who moves in without inspection, never sends the record, and hopes memory will carry the day.
What to keep after move-in so your record stays useful
Keep the full move-in package for the entire tenancy and until you get the deposit decision in writing. Save the checklist, photos, video, sent emails, and any landlord replies in one folder with the lease. If your move-out dispute arrives 10 months later, you will want the original file within 2 minutes, not after 2 hours of searching.
Make a backup in at least one separate place. Cloud storage works well, but so does forwarding the email thread to another inbox you use often. If you change phones, reinstall apps, or lose access to one account, the record should still be reachable.
Do not delete older versions if you resend updates. A file showing the original report and a later correction is stronger than a single polished version with no history. Keep the timestamps visible on the messages and the image metadata if possible.
The best habit is to store the report where you store the lease, not in a random photo album. That keeps the evidence tied to the agreement it supports, which is exactly where you will look when the deposit conversation starts.
What should I photograph before moving in?
Photograph every room wide, then the damage close up. Include floors, walls, ceilings, doors, windows, outlets, cabinets, appliances, plumbing fixtures, and any stains, chips, holes, or missing parts. If a room has damage near a specific spot, take one image that shows the whole area and one that shows the defect in detail.
Should I send move-in photos to my landlord?
Yes, send them right away with a short move-in condition report. Email is usually best because it creates a dated record, and you can ask for written acknowledgement in the same thread. Keep the tone factual and attach the checklist, photos, and any video link so the landlord can review the full record.
How do I prove the unit was damaged before I moved in?
You prove it by showing a dated inspection record, timestamped photos, a video walkthrough, and a written note that matches the same defect. The strongest proof ties the problem to a specific room and date, then shows that you sent the record promptly by email or lease addendum.
Drafted with AI; not yet reviewed by a person.